DIY Metal Ceilings

Diy 1.25in Corrugated Metal Ceiling

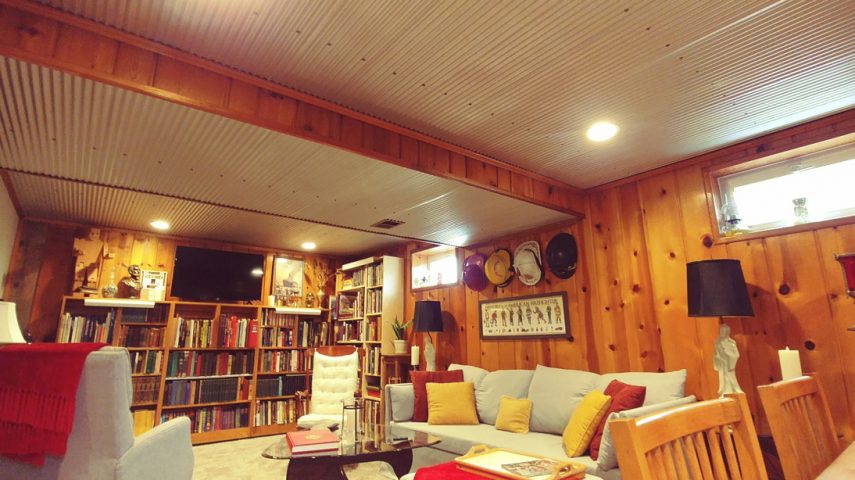
The key to using metal panels as a unique ceiling panel system.

Metal Ceilings, Simplified

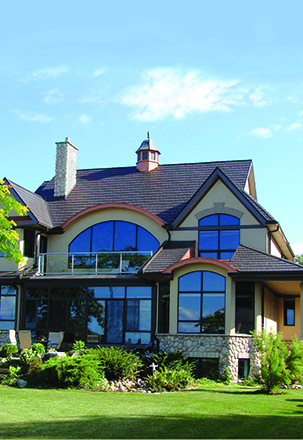
Metal panels make great ceilings – whether it be for a basement, man cave, workshop, or nearly any other space. Rugged charm combines with easy cleaning, fast and easy installation, and unmatched durability.

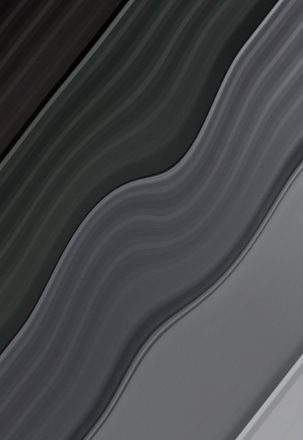
Through fastened panels are the most common choice for ceilings – often in a low profile rib to maximize clearance. That said, hidden fastened standing seam and taller ribs can provide a unique spin on your ceiling. Go with a lighter color for maximum brightness or a dark color for theaters and rich warmth.

Calculate

  1. Determine the direction of panels: typically run with the room direction, though diagonally ran panels can provide a unique look as well.
  2. Send a drawing for your representative to calculate, or figure material yourself.
  3. Measure for panel lengths – choose full-length panels, panels lapped 2-3”, or panels butted back to back with j-channel on each panel end.
  4. Measure for perimeter trim – j-channel used around the perimeter will hold panel edges in place and hide cut edges. Some people prefer an “L” channel instead.

Install

  1. J-Channel is typically installed around the perimeter first, providing a channel for panels to slide into.
  2. Fasten panels, relying on the j-channel to hold the one end up while tacking edges down. For through fastener panels consider chalk lines to keep fastener rows straight. You can also predrill a stack of 10-15 panels with a 1/8” drill bit to help start the fastening process and keep rows straight.

Let’s Get Started

Take the next step - contact one of our experts or explore our full line of metal roof systems.

Contact Our Experts View Our Products